
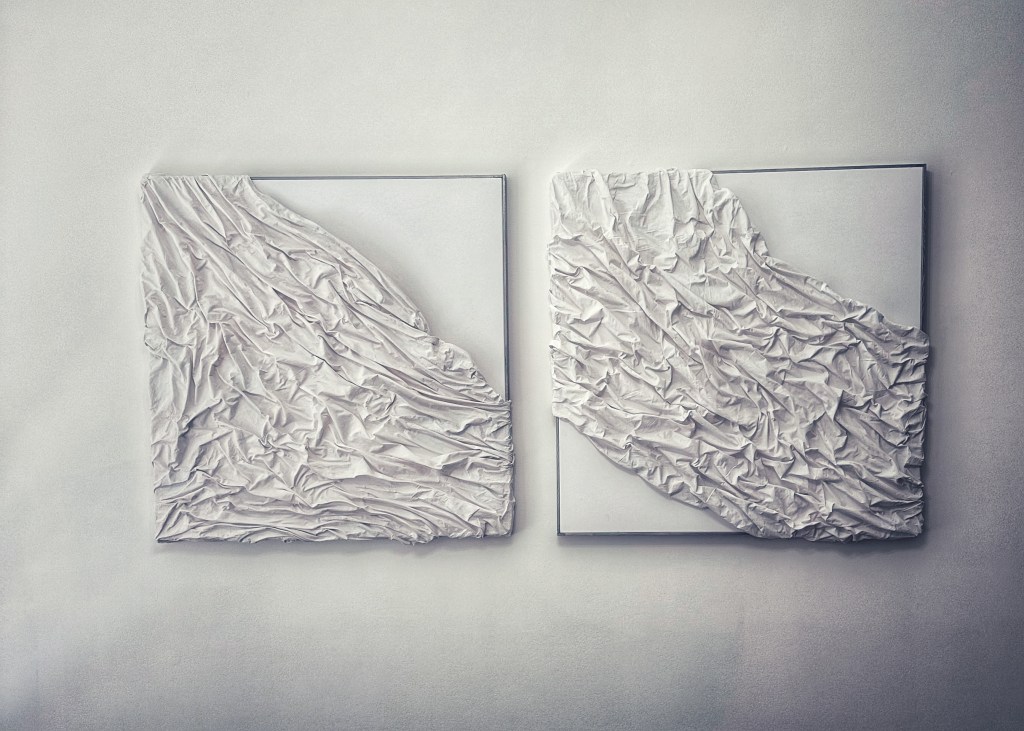
Needing to fill empty walls with large artwork, but don’t want to pay $800+ for it? Follow along and let me show you how I filled my dining room walls with my own DIY art!
What you will need:
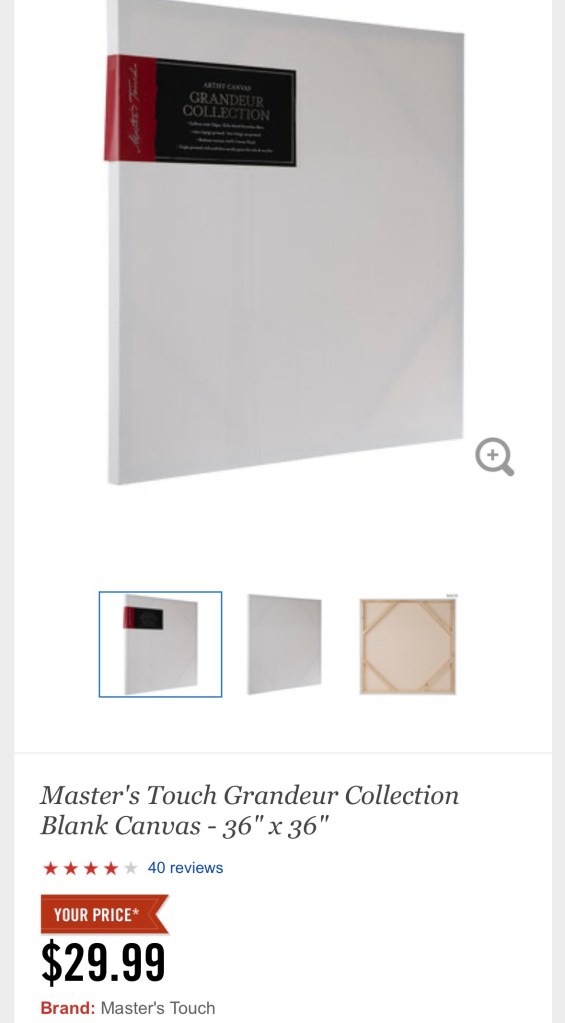
- 2 blank canvases
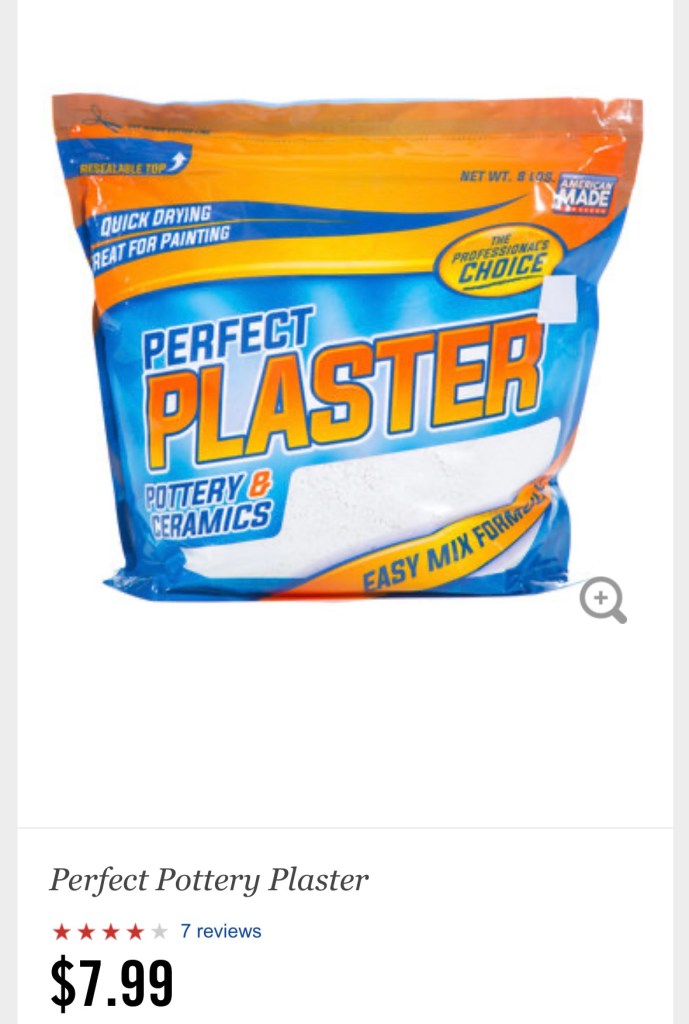
- Powder Plaster
- 1 Flat White Sheet
- An empty bucket
- Small paintbrush (I used one from my toddler’s paint kit😉)
- Wood Strip .25in thick x 1.5in wide
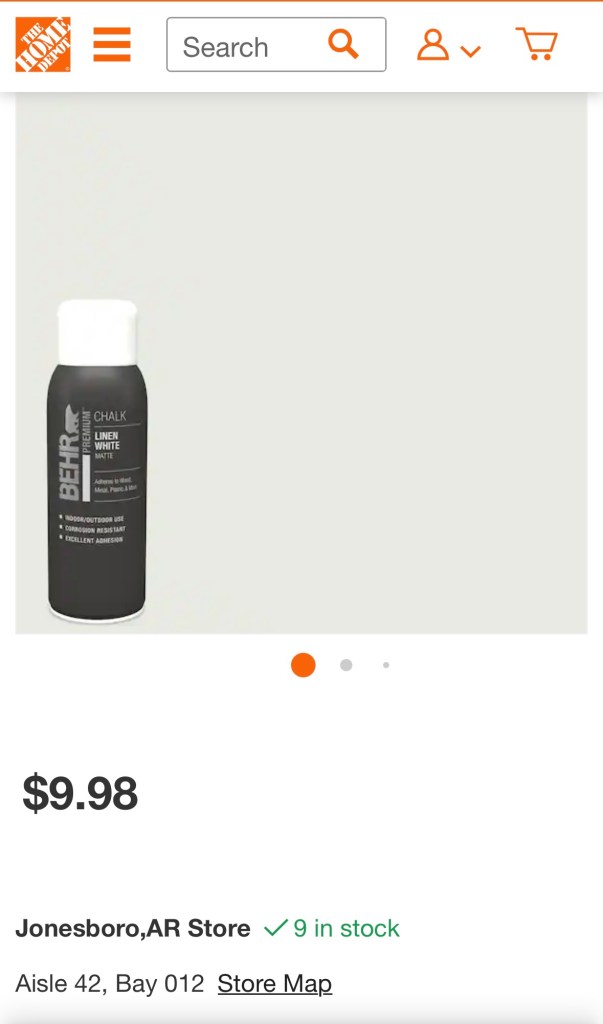
- 1 can of matte “Linen white” Behr spray paint
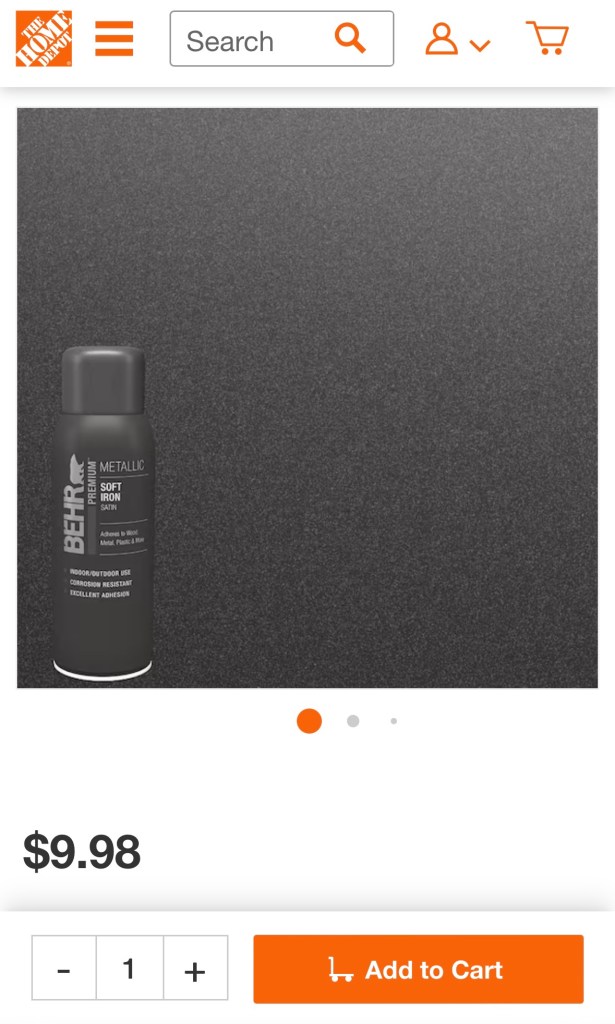
- 2 cans of metallic “Soft Iron” Behr spray paint
Step by Step
-First things first, plaster is MESSY! I laid down plastic in my living room floor to lay my canvases on.
-Mix your plaster with cold water in your empty bucket 1:2. For every cup of plaster, add two cups of cold water.
-Place your flat white sheet in your bucket. Stir the sheet around until it is completely saturated with your plaster mix. Wring out as much excess water as you can.
-Lay your sheet across both canvases. This is the part where you will “pinch your sheet” for the “wave” design. It is 100% up to you how you want the sheet to be placed on each canvas.
-Cut the excess sheet not being used as part of the design. My kitchen scissors worked just fine🙌🏼 Allow your sheet to dry for 24 hours.
-MAKE SURE your canvases are in a safe place to dry where your toddlers, cat and dog can not get to them (speaking from experience😩).
-After 24 hours, you will make another plaster mix. This time it will need to be a little thicker, more of a 1:1 ratio with the plaster and cold water. Use a small paintbrush to paint the plaster on the flat sections of the sheet that touch the canvas, to help the sheet adhere more to the canvas. Let them dry again for 12 hours.
-After they dry completely, you may need to sand off excess plaster that may have clumped up on the sheet. I like the rough look, so I decided not to sand mine!
-Using the “White Linen” spray paint, I lightly painted over the sheet to help harden the sheet and keep it in place.
-Cut your wood strip to fit as a frame around your canvases. Using the “Metallic Soft Iron” spray paint, I sprayed each piece of wood before using wood glue to place them on the canvas. If you do not have a way to keep pressure on the wood as the glue dries, I suggest using a nail gun to place the frame.
-The last step is wrapping the corners of your canvases with your sheet. On the corners I wrapped, I used a staple gun to staple the sheet to the wooden pieces on the back of each canvas.
These are the specific products I used for my art! There are so many different brands of canvases and spray paints out there. If you can find a better deal on the supplies, I’M HERE FOR IT‼️
Keep watching my page for future blogs about my diy and decor hacks!!

Leave a comment